Transfer Native Token
The first crucial step for a newcomer in the Web3 world is understanding how to operate a cryptocurrency wallet. This is a fundamental skill for interacting with blockchain-based systems, and we have designed a beginner-friendly tutorial to help you navigate this new terrain.
Transfer Using MetaMask
Note
This tutorial is based on the Darwinia network, and the same operations apply to other chains.
- Install the Wallet extension in your browser.
-
Import your existing accounts or create new ones.
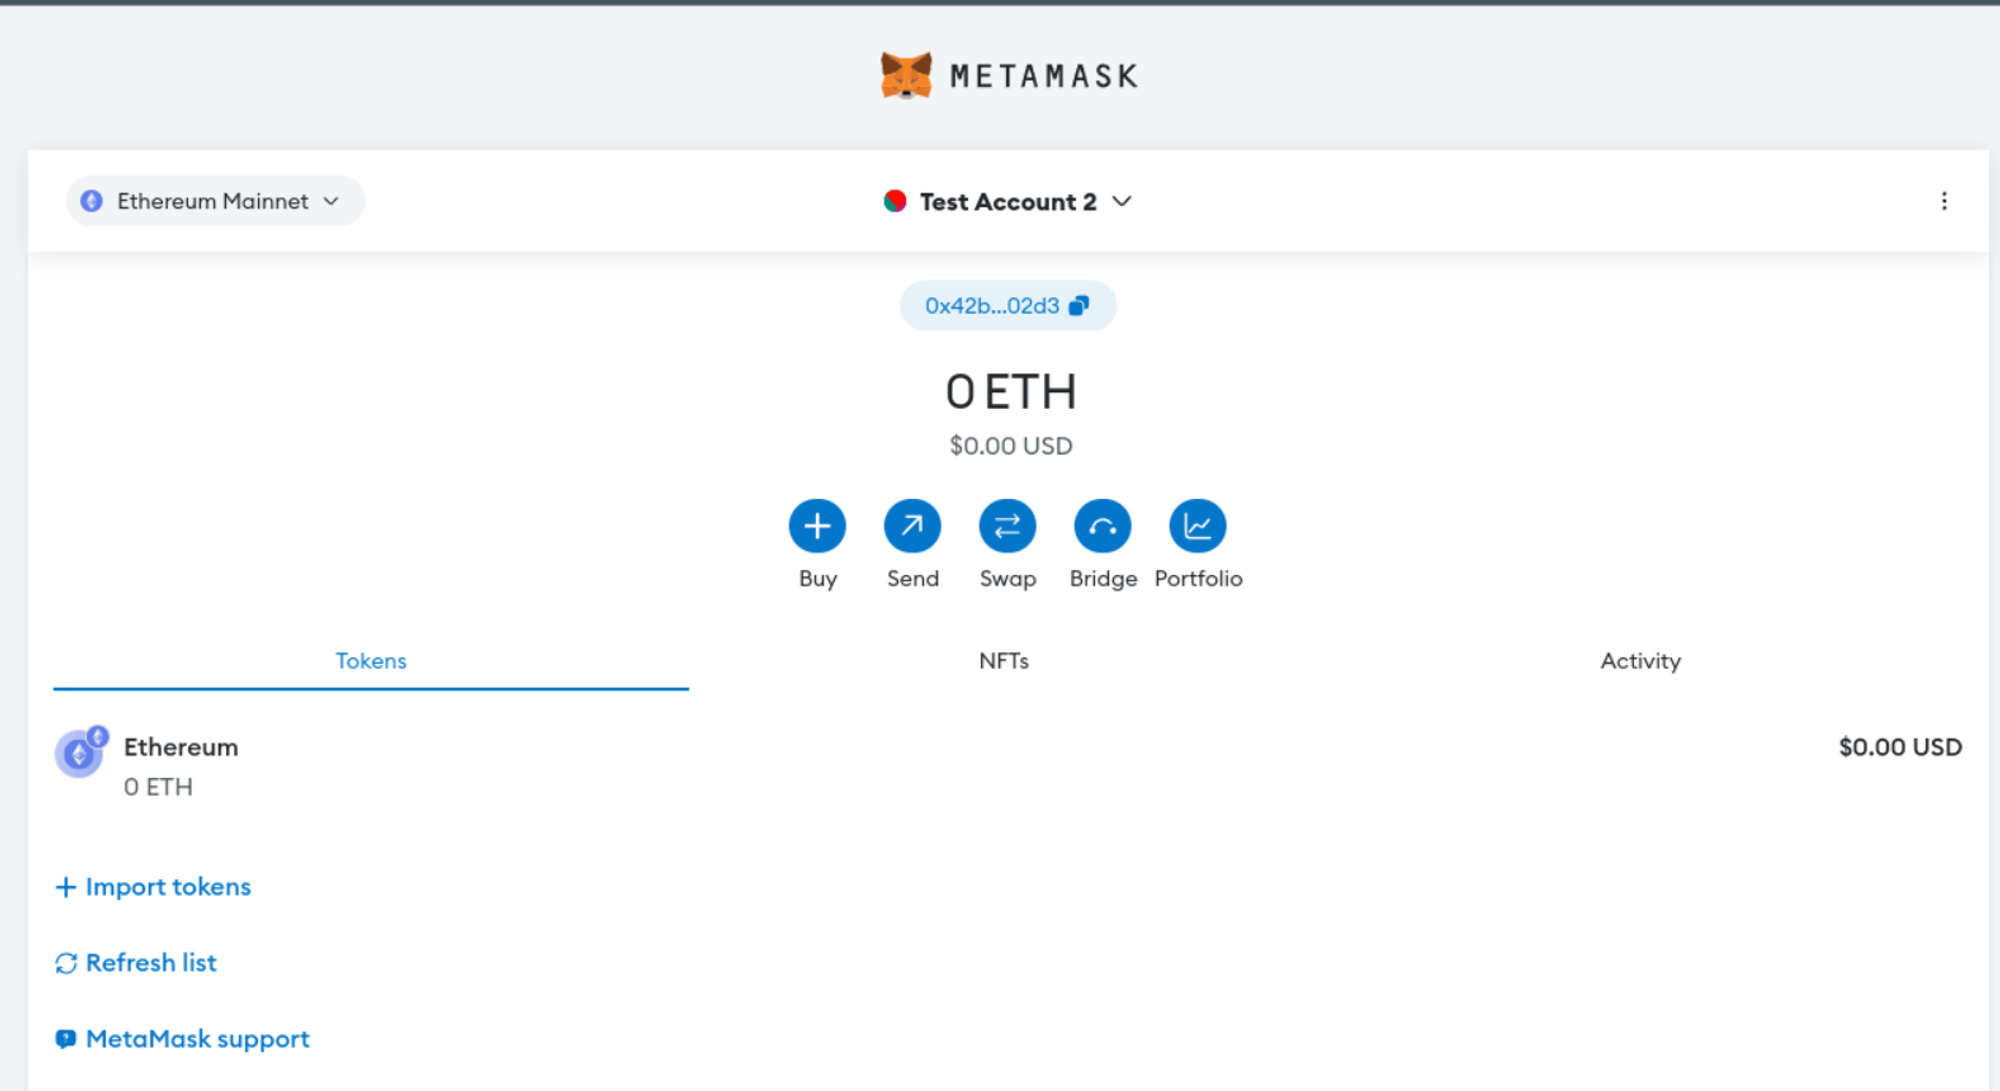
Test Account 1andTest Account 2are two test accounts in this tutorial.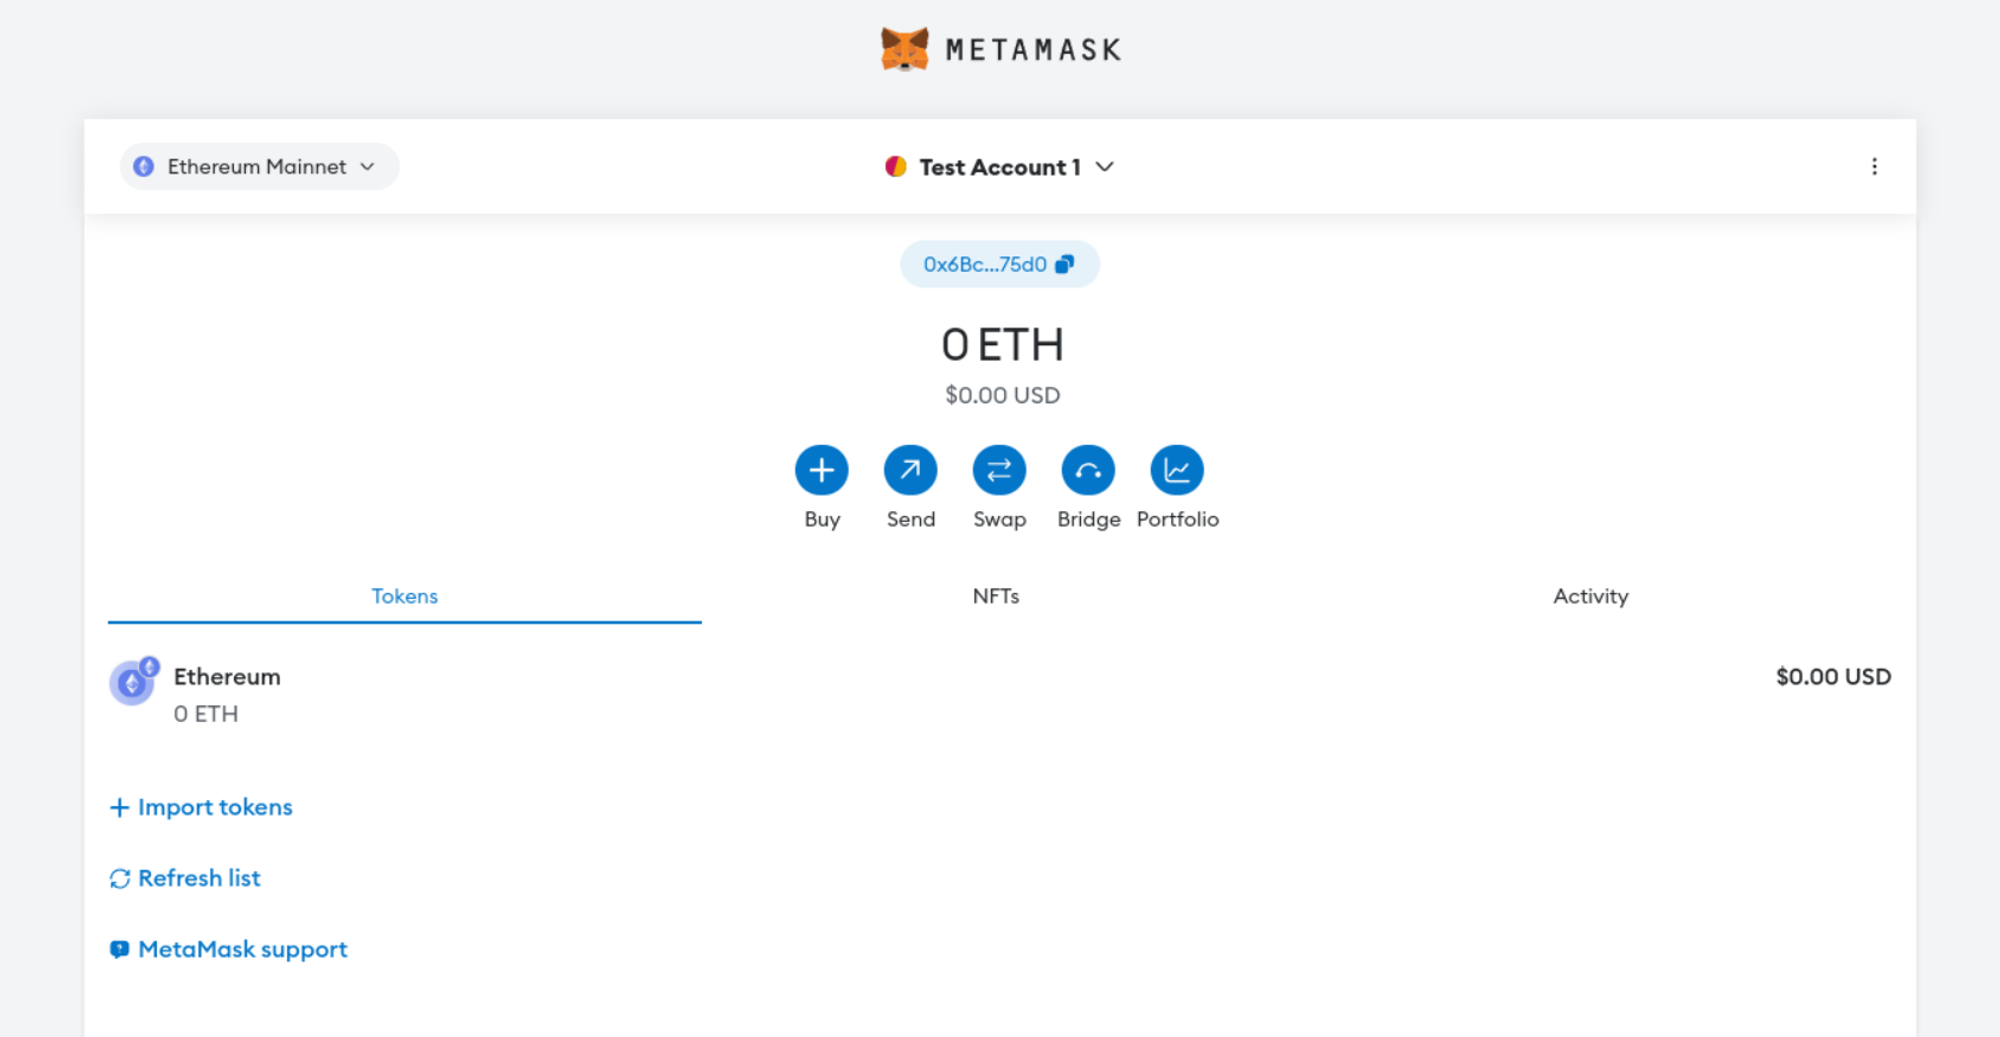
-
By default, the MetaMask extension is connected to the Ethereum Mainnet. So, you need to switch from the Ethereum Mainnet to the Darwinia network. The network information page provides a convenient link to connect directly.
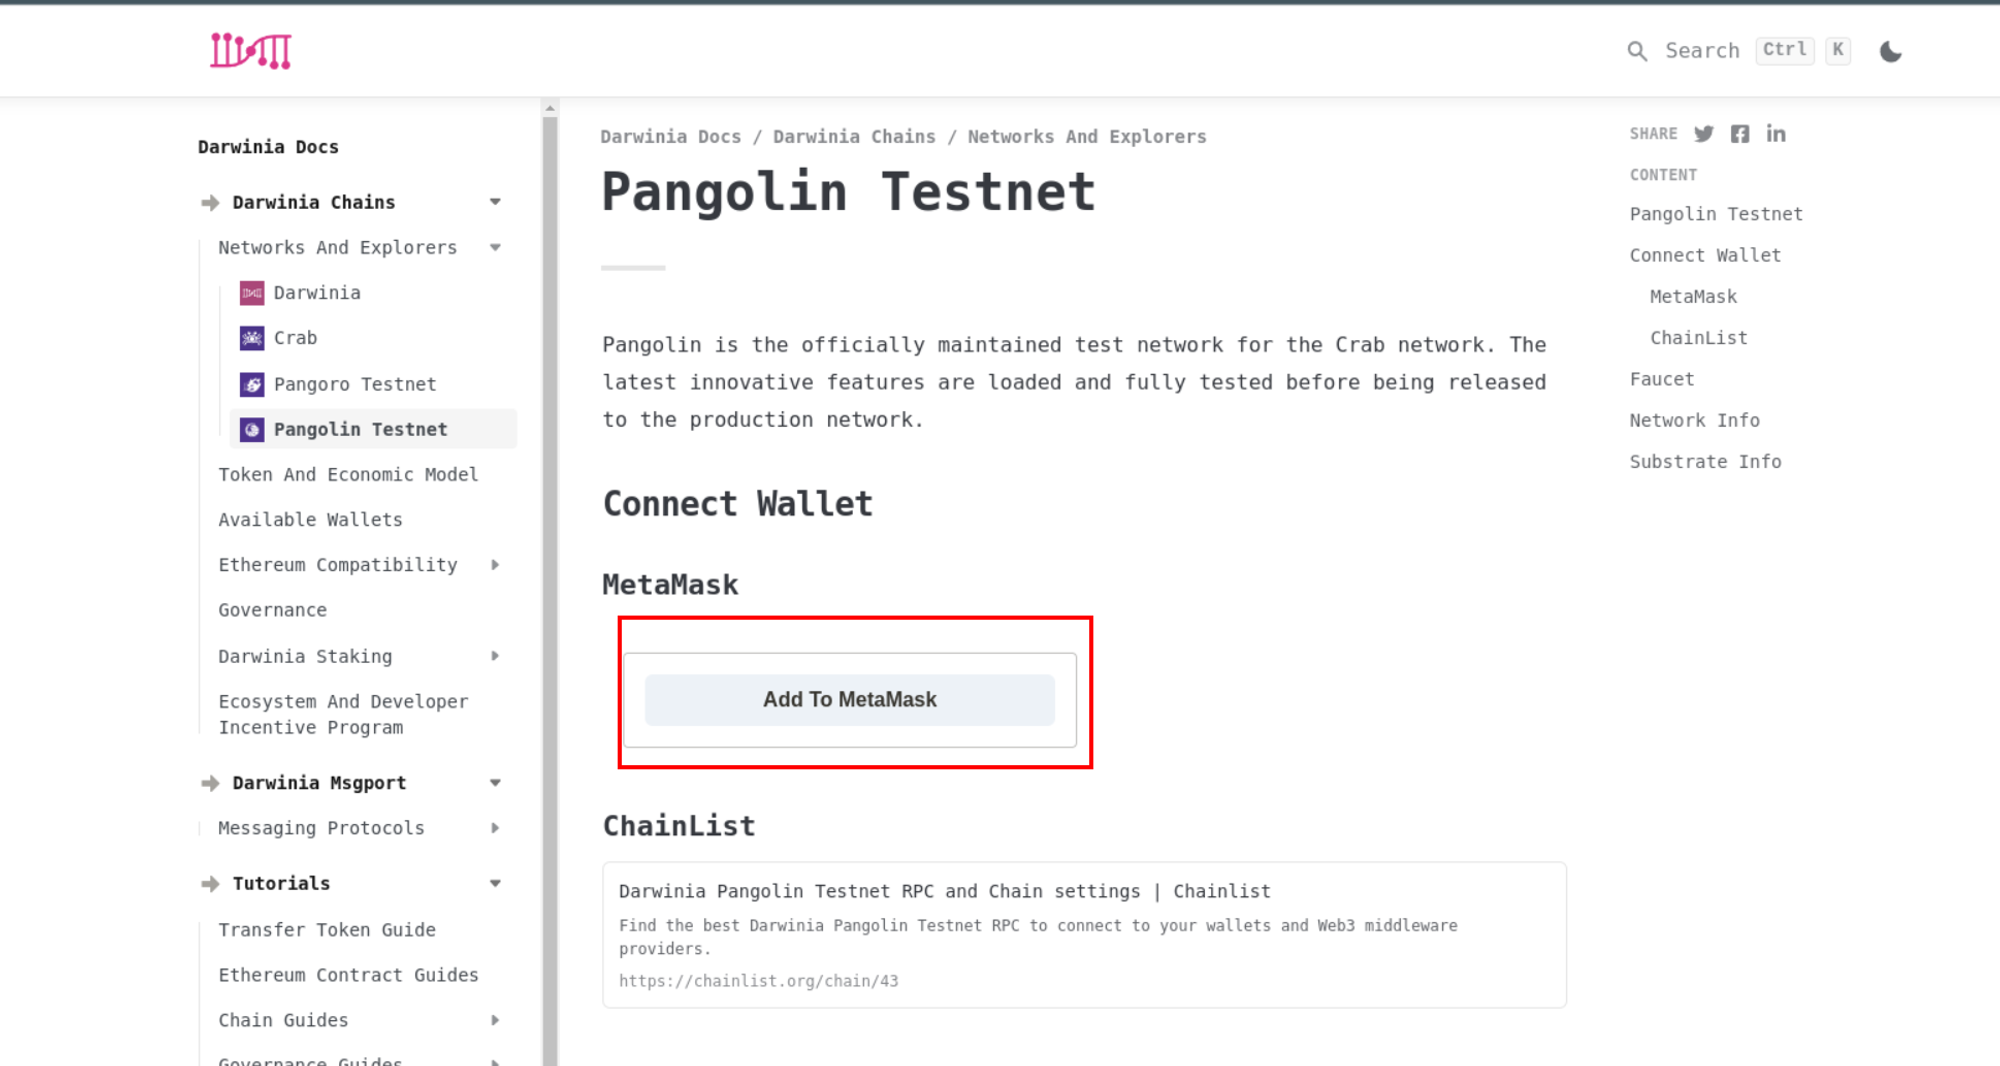
Click the Connect button, and the MetaMask extension will automatically switch to the Darwinia network. Check the network displayed and click the Approve button. Then , you can see that the network has switched from the Ethereum Mainnet to Darwinia.
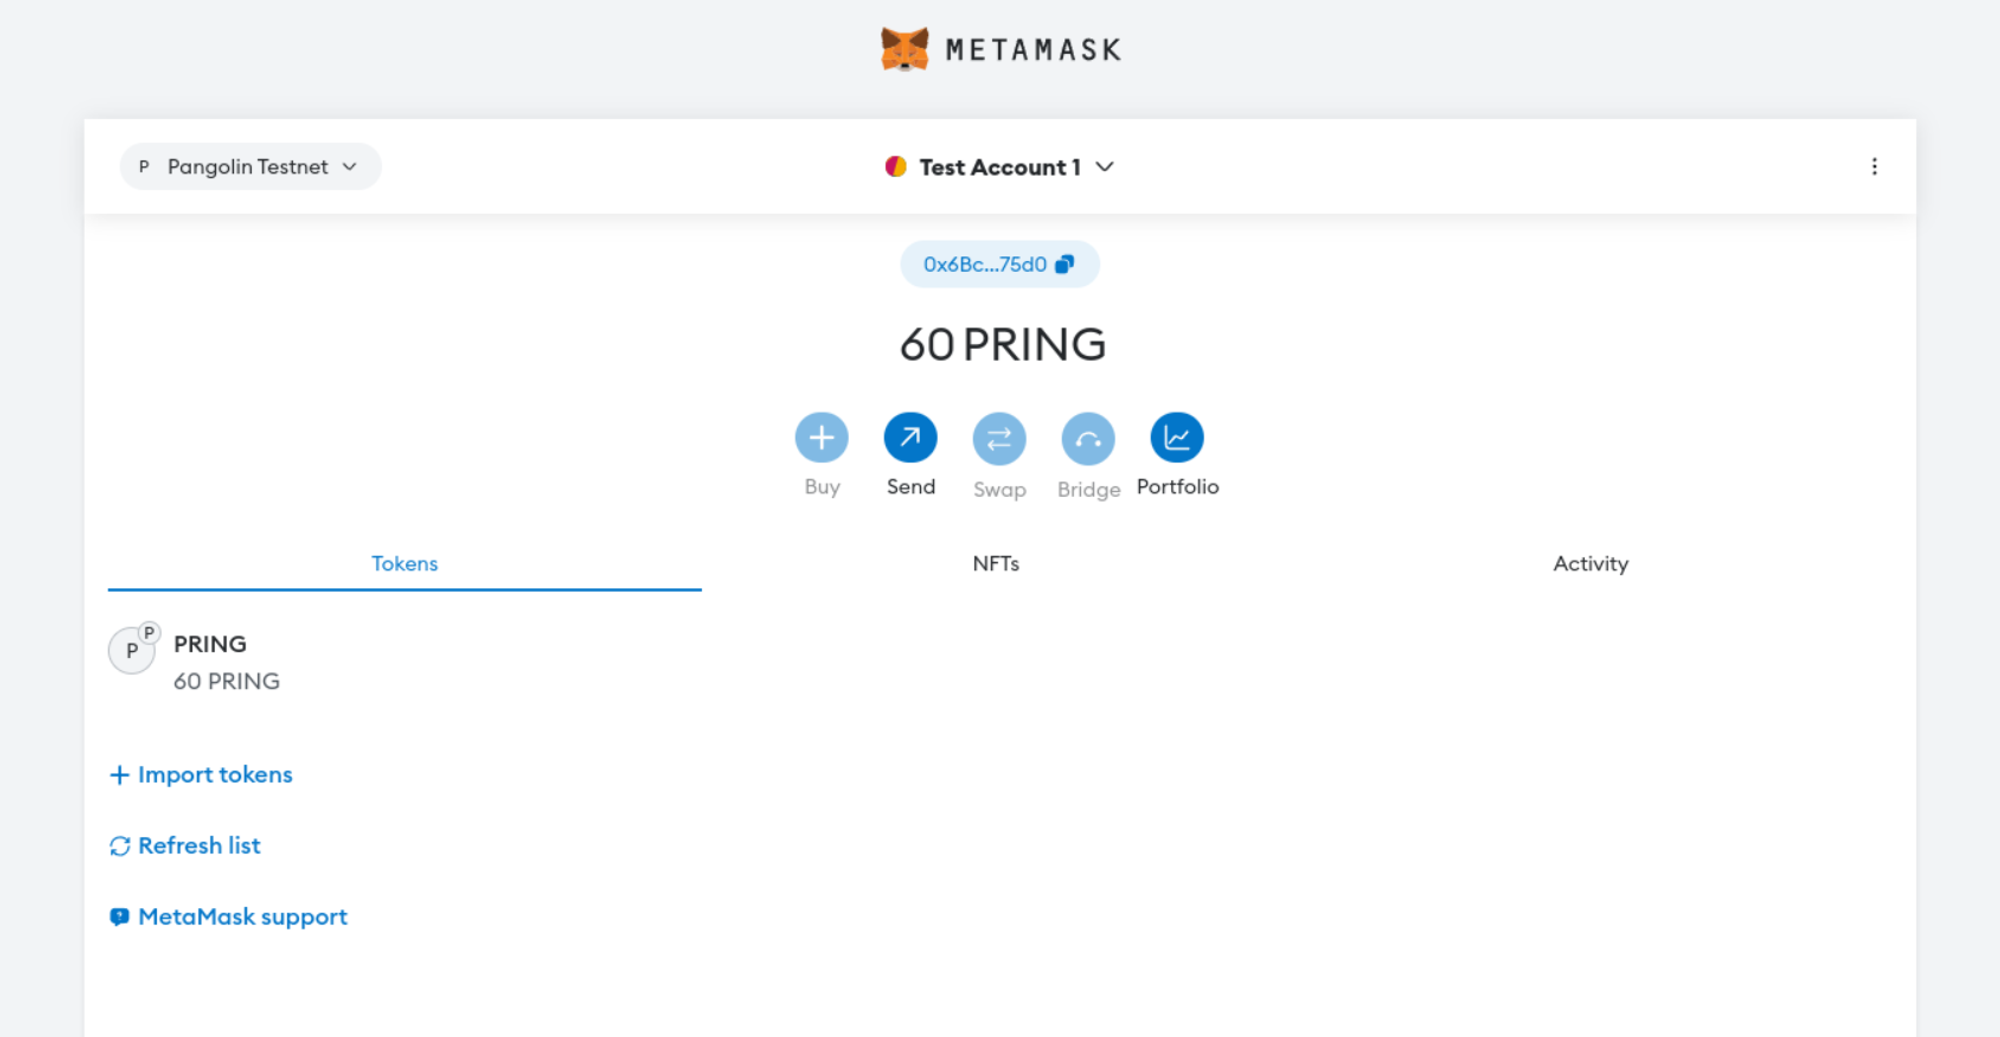

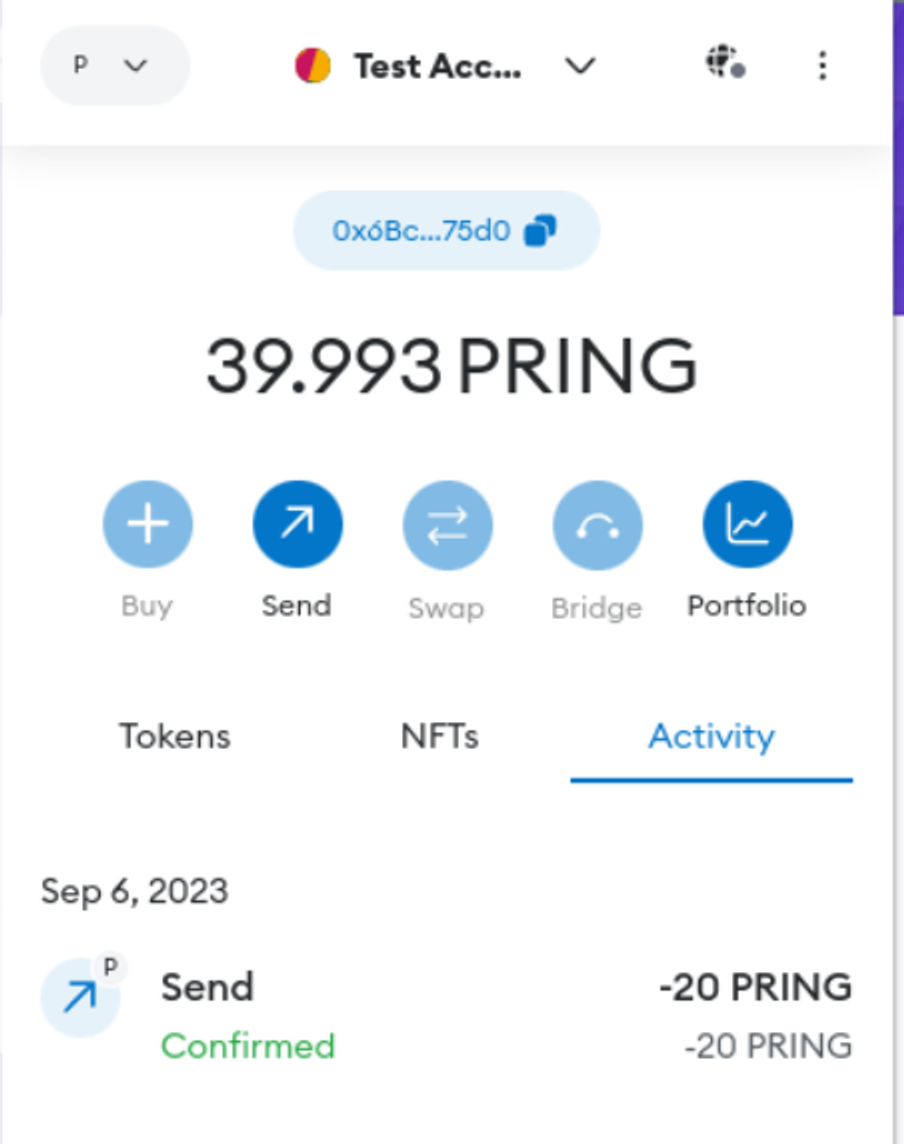
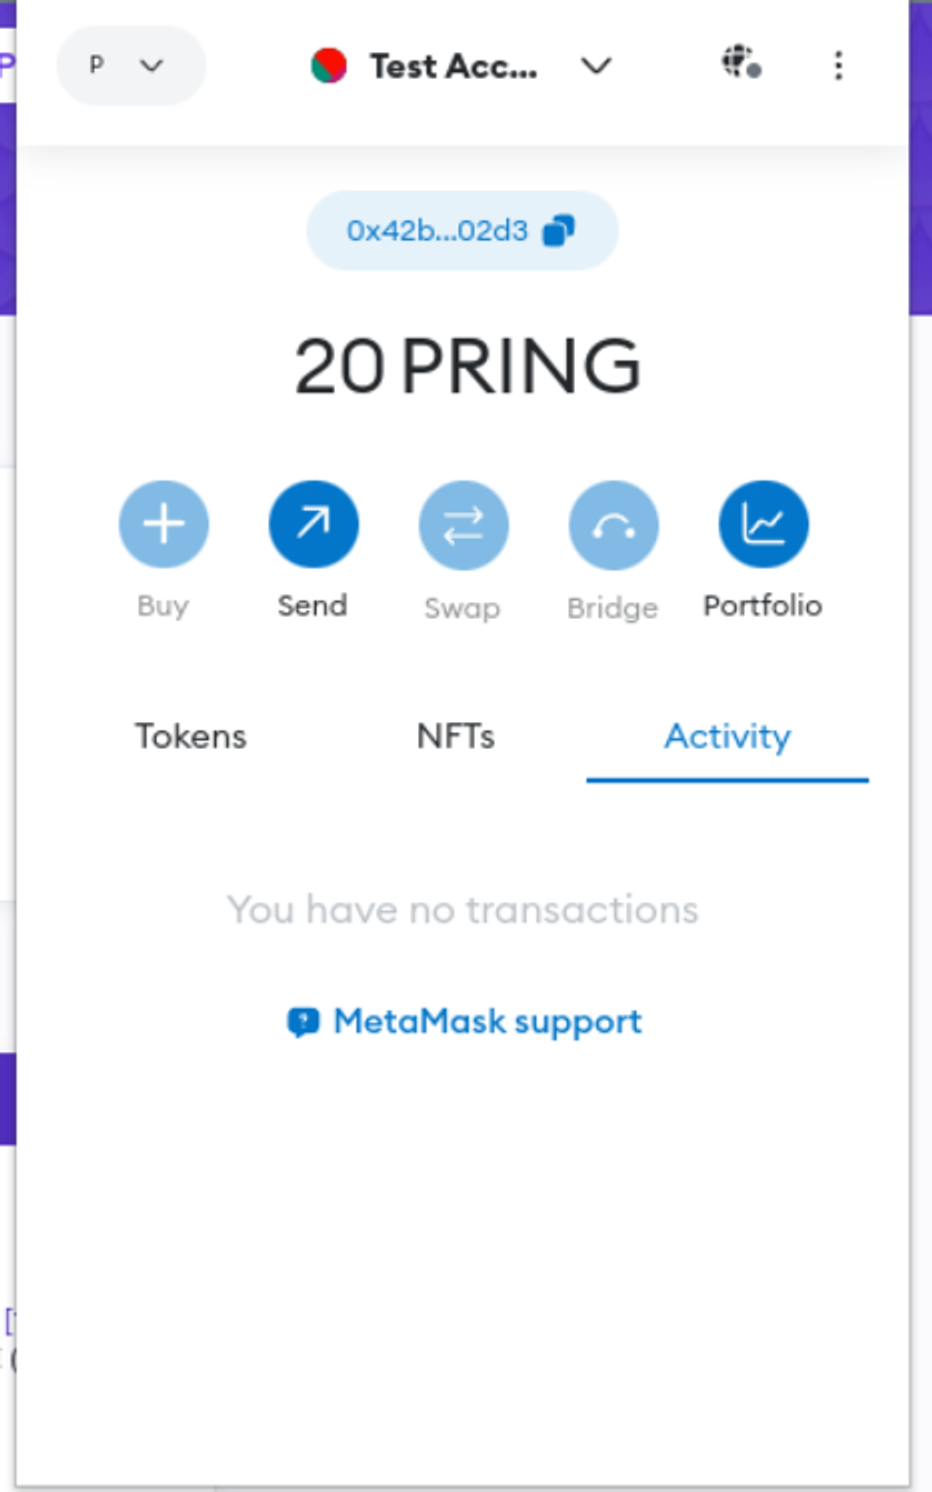
Test Account 1 has 20 RING and Test Account 2 balance is 0. Let's transfer 10 RING to the Test Account 2 next.
-
Transfer
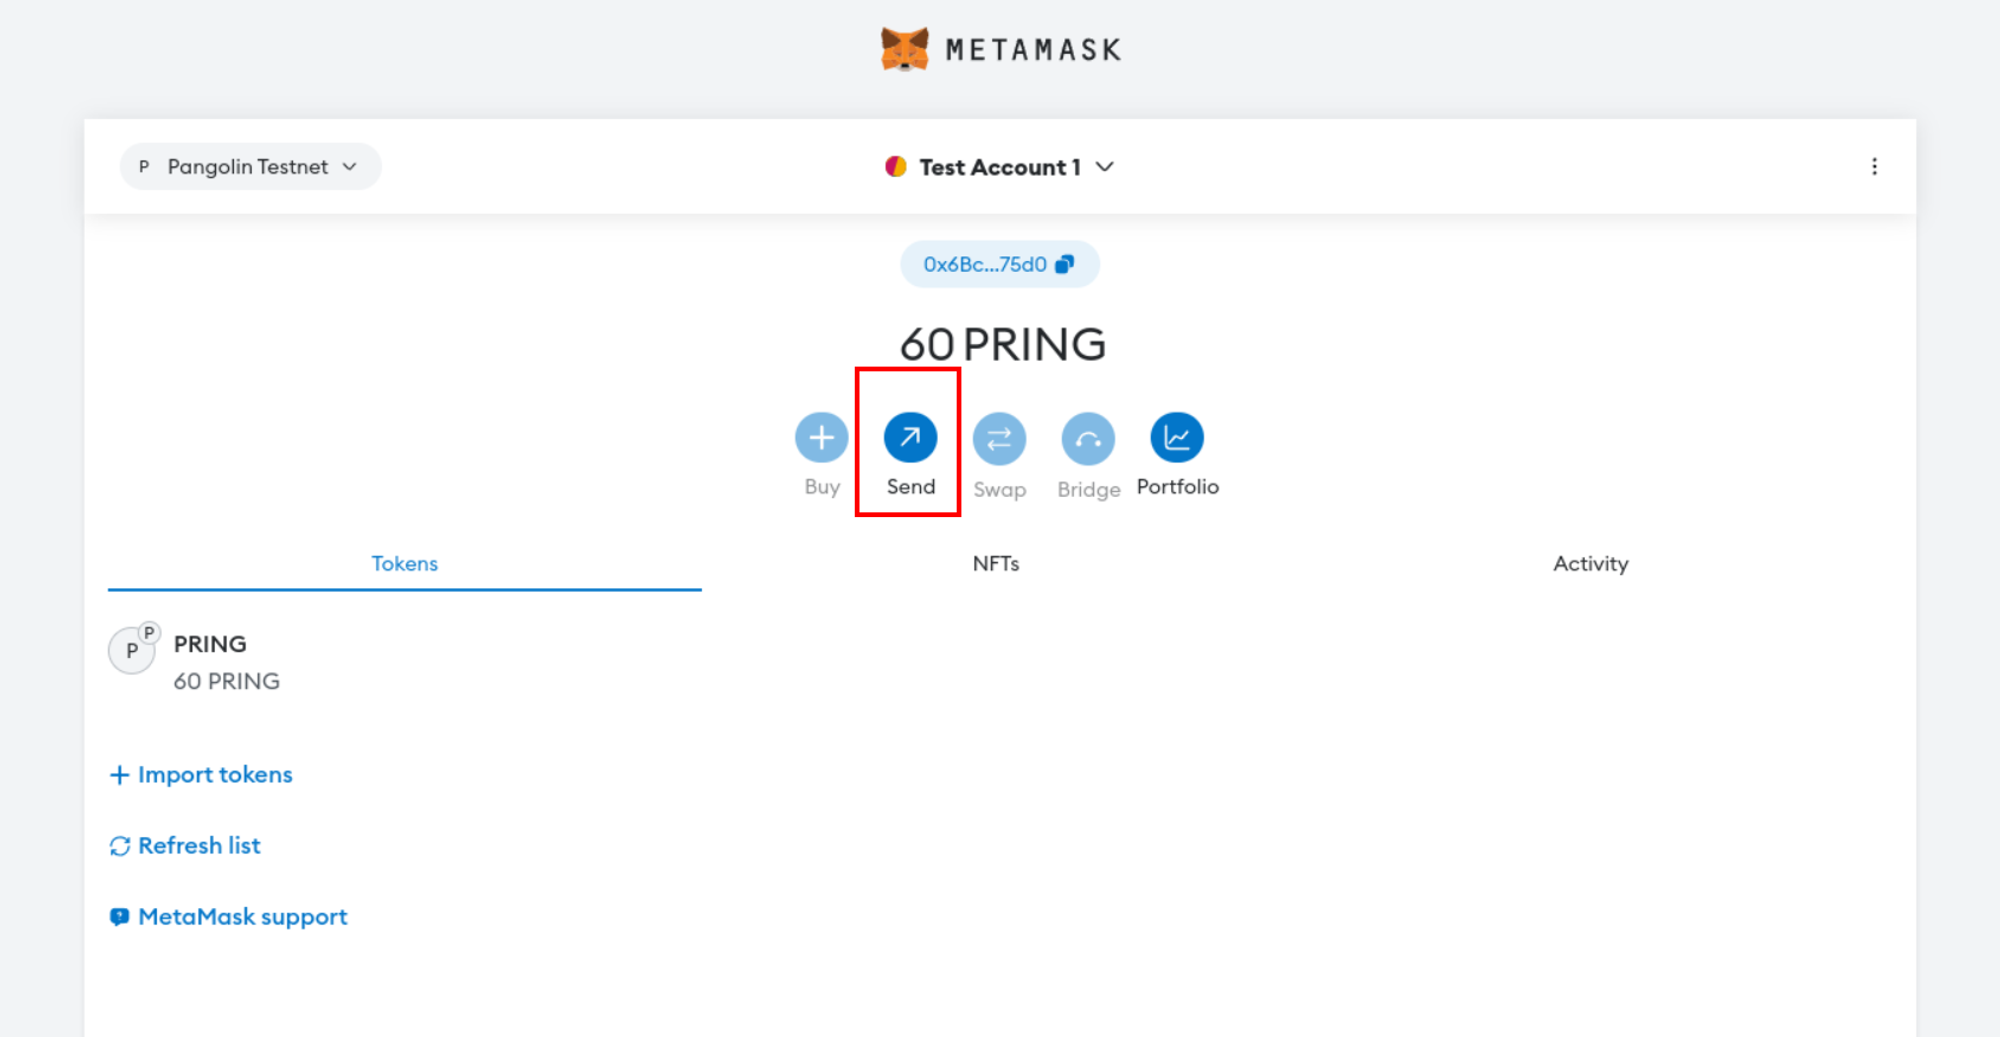
Click
Sendbutton.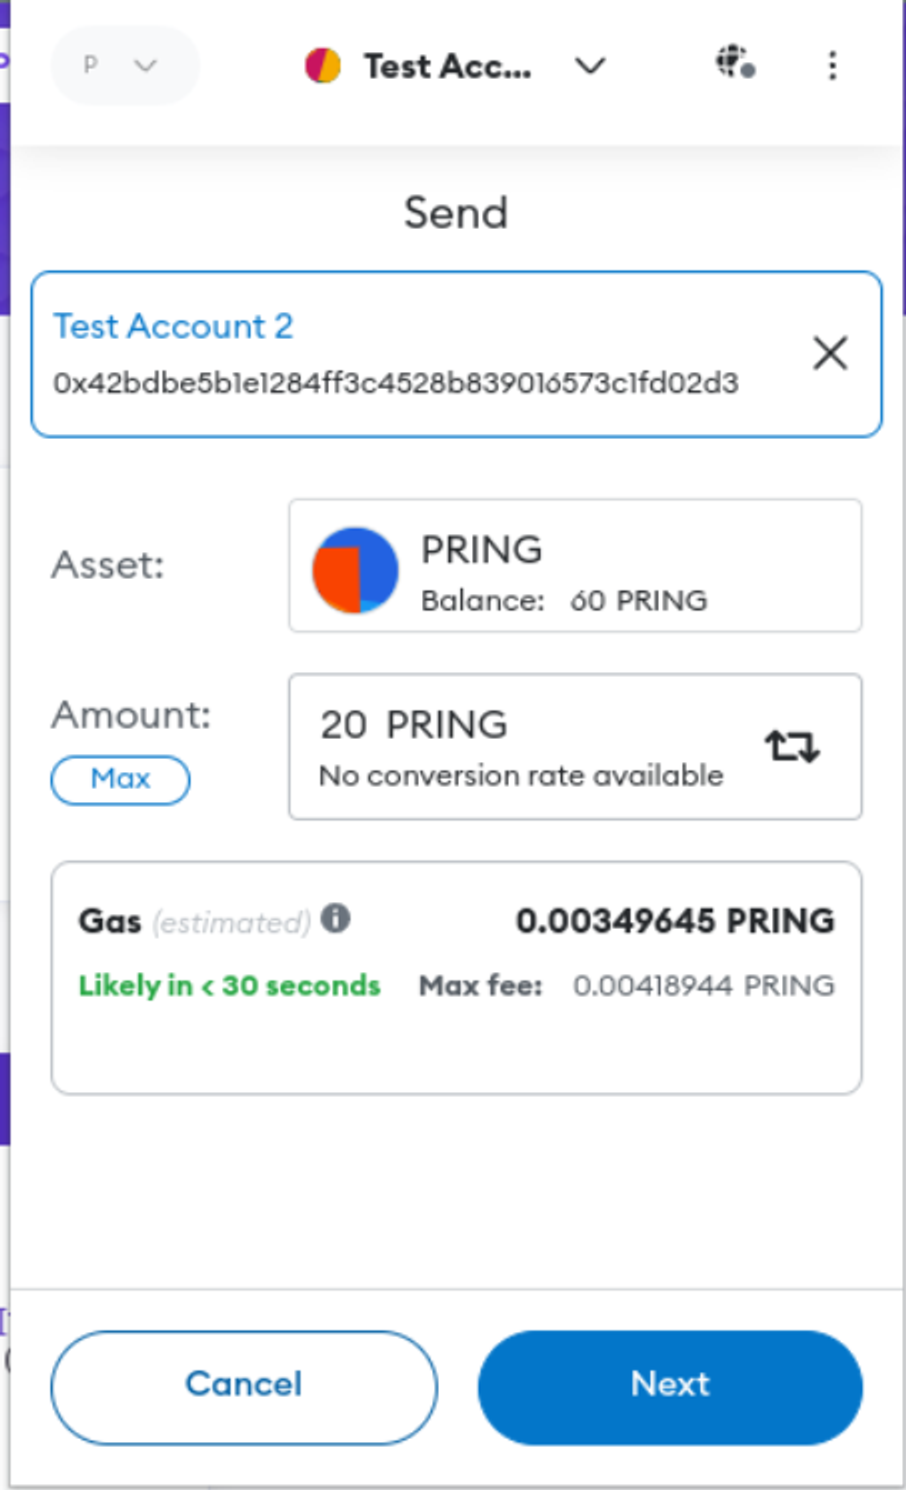
Select the target account and fill in the value amount, click
Next.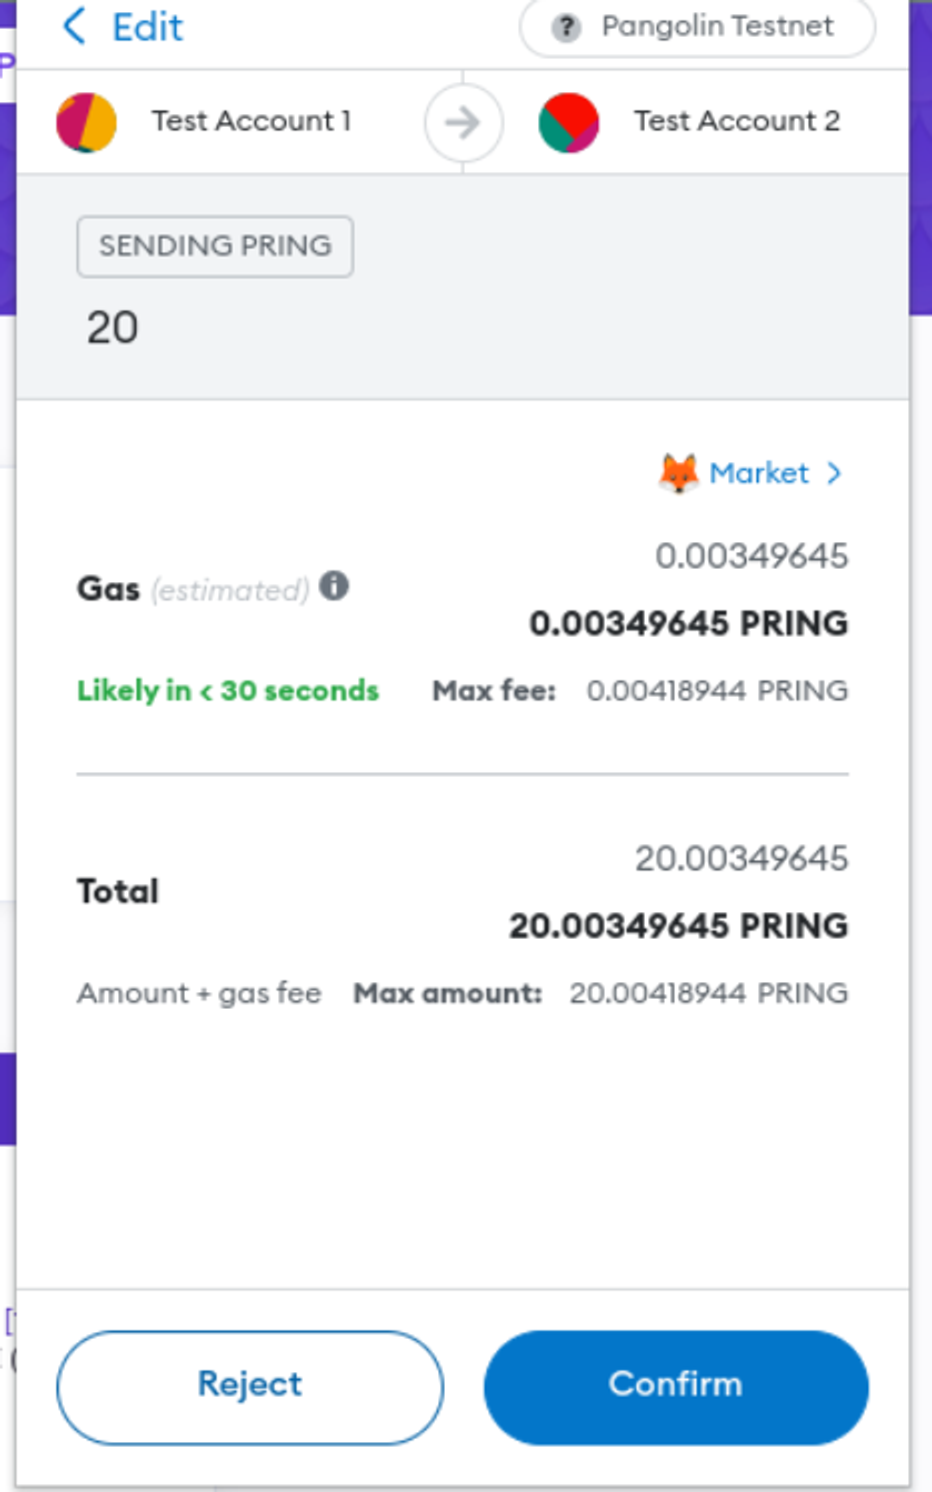
Confirm the source account and target account, then click
Comfirmbutton.